
On-brand post images, without a design tool
Set your brand kit once: your logo, a main colour, an accent and a font style. Then write a headline, a line under it and a tag such as a price, and Smartplannr draws the image in your brand, ready to post.
Free plan · No card needed · Cancel any time · Prices in GBP
Three brands, one designer
Sample brands, drawn by the same designer you use in the composer. Each takes its colours and font from its brand kit.
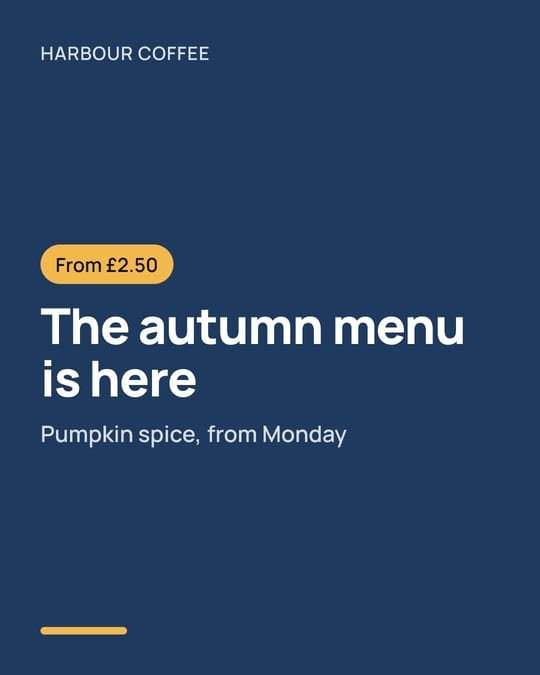
Harbour Coffee
Modern · on the main colour
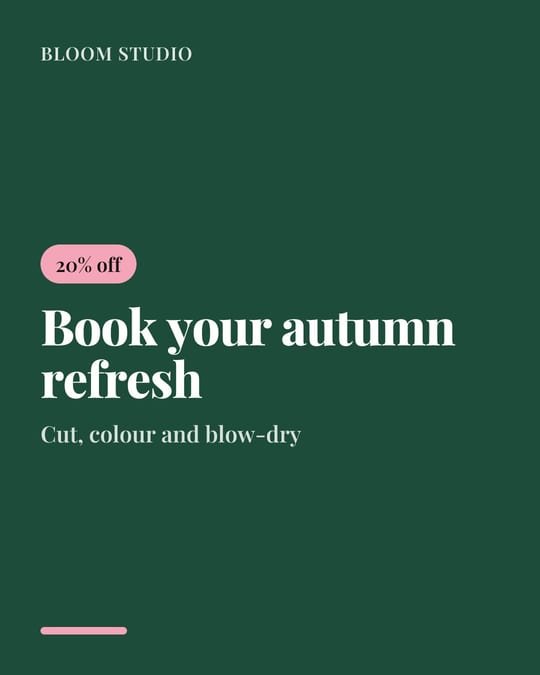
Bloom Studio
Elegant · on the main colour
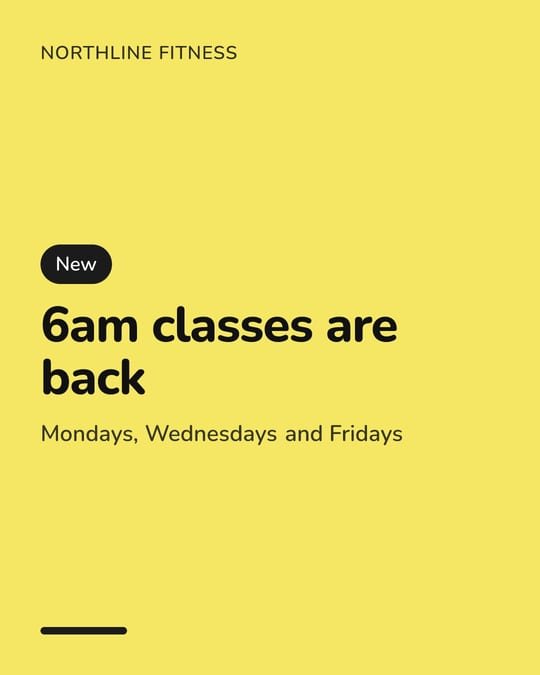
Northline Fitness
Friendly · on a light colour
What you can make
A brand kit from your website
Type your website and Smartplannr finds your logo and brand colours on your home page. Check the sample, change anything, then save.
Three layouts
Your words on your brand colour, over a full-bleed photo, or beside a photo framed in your colour.
Four sizes
Portrait 4:5 for feed posts, square, 9:16 for Stories and Reel covers, and 16:9 for YouTube thumbnails.
Three font styles
Modern, Elegant or Friendly, so the lettering suits your brand.
A logo that always shows
If your logo would vanish on your colour, a maroon logo on maroon for instance, it’s drawn in white or ink instead.
Straight into the post
The preview is the exact file that’s saved. It goes onto the post you’re writing and into your media library.
How to make a branded image
Set your brand kit
In Settings → Workspace, open Brand kit. Type your website to fill in your logo and colours, or choose them yourself, then pick a font style and save.
Open the designer
In the composer, choose Design next to Library and Upload. For a Reel or a YouTube video, it’s next to the cover.
Write the words
Add a headline, an optional line under it and an optional tag such as a price, then choose a layout and a size.
Add it to the post
The preview updates as you type. Choose Add to post and the image goes onto the post and into your media library.
Three ways to use them
A weekly offer
Friday’s two-for-one in your colours, with the price as a tag, for Instagram and Facebook.
A YouTube thumbnail
A 16:9 image with the video’s title and a photo from the shoot, framed in your colours.
A Story announcement
Bank holiday opening hours as a 9:16 Story, with your logo at the top.
Good to know
- Headlines can be up to 90 characters, the line under them 120 and the tag 24.
- Logos and photos come from your media library. A PNG logo with a transparent background looks best.
- Reading a website for a logo and colours is free, up to 10 times an hour for each workspace.
- Images are saved as JPEGs and count toward your plan’s storage.
Questions
More features
- AI writing assistantCaptions, hooks and rewrites in your brand voice
- AI assistants (MCP)Plan and schedule posts from Claude or ChatGPT
- Media libraryPhotos, videos and GIFs for the whole team
- Campaigns & templatesCampaigns, labels, hashtag groups and templates
- Social inboxReply to comments from four networks in one place
- Social media schedulerWrite once, tailor it per network, schedule it
- Content calendarMonth, week and day views with drag-and-drop
- Instagram grid plannerSee your profile grid before it goes live
- Bulk uploadUp to 15 posts at once, with AI captions
- LinkedIn carouselsSwipeable carousels and PDF document posts
- Recurring & evergreen postsRe-share approved posts on a set rhythm
- AnalyticsOnly the numbers the networks report
- ReportsShareable, password-protected client reports
- Link trackingShort links, UTM tags and real click counts
- Link in bioOne page of links, with every click counted
Give every post an image that looks like you.
Start free and set up your brand kit in a minute.